Getting Started
We know that learning a new platform can be daunting at first, so we've created these guides to show you simple things you can do to get up and running on HawaiiLife.com. The guides below will walk you through logging into your new website account, updating the content on your Agent Page, and updating the media on your Listing pages. If you're new to Hawaii Life, be sure to bookmark this website for future reference.
TIP: Still having trouble? Contact us on Live Chat or email Support@HawaiiLife.com.
Sign In To Your HawaiiLife.com Account
There are 2 ways to login to your HawaiiLife.com account:
1. Goto HawaiiLife.com/agent_tools
2. Goto HawaiiLife.com and scroll to footer section then click "Agent Sign In" link (located in first column on left)
Note: You can use your Google account username and password. Simply enter your username and password then click "SIGN IN WITH GOOGLE" button (red).
Manage Content on your Agent Page
Your HawaiiLife.com account allows you to manage the content featured on your Agent Page. Once you are logged in, you can edit your bio, designation, languages spoken, product specialties, tenure, industry awards, profile image, featured listings and about page image. You can also add your social media channels or a custom welcome email message for your new leads.
Step 1) Login to your HawaiiLife.com account
Step 2) Click "WEBSITE" tab
Step 3) Optional: Update your profile image. Your profile image will display in the Agent Directory. It also appears on your Agent page and your Listing Details pages. Scroll to "Details" section and click "Upload Image" button. Locate and select the new image file on your computer (recommended size: at least 300W x 300H, pixels) then click "Open".

Step 4) Optional: Add up to 4 featured listings to your Agent Page. Note: Your Agent Page must be published by the Support Team in order to be able to add featured listings. To add featured listings, scroll to the "Featured Listings" section and click "+ ADD LISTING" button. Enter MLS# of listing you wish to feature, then click "+ADD" button. You may enter up to 3 additional listing MLS#'s. Last, click "SAVE" button to save changes.

Step 5) Optional: Add a unique image of yourself to the About section of your Agent Page (above your bio and contact information). To add this image, scroll to "About & Contact" section then click "UPLOAD IMAGE" button. Last, click "SAVE" button to save changes.
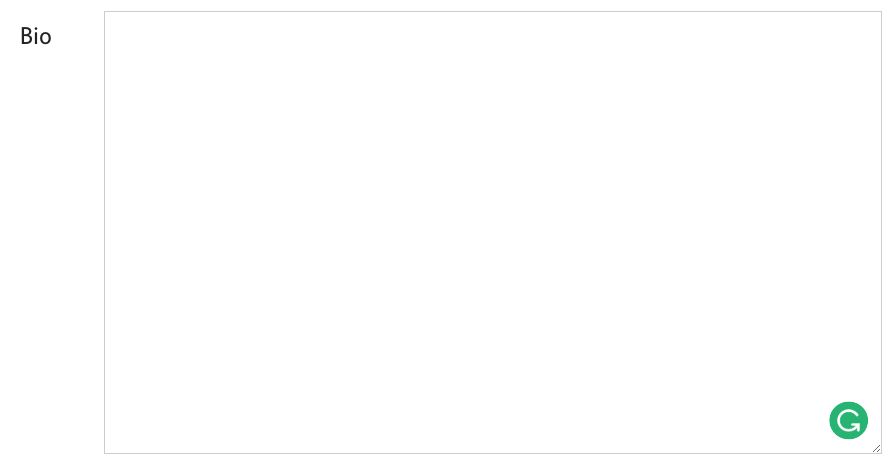
Step 6) Optional: Enter any updates to your bio content in the "Bio" field then click "SAVE" button to save changes.
Step 7) Optional: Add your social media channel links. Enter the username of each social media account you wish to feature, then click "SAVE" button to save changes.

Manage Images on your Listing Page
Follow these steps to add or remove the images featured on your listing page.
Step 1) Login to your HawaiiLife.com Account
Step 2) Click "LISTINGS" tab

Step 3) Click thumbnail image of the listing you wish to edit

Step 4) Click "PICTURES" tab

Step 5) Remove existing image(s) you no longer wish to feature by clicking “x” next to unwanted image(s)

Step 6) Select new listing image(s) you wish to add with your mouse then drag and drop file(s) to “Upload Folder OR Drag And Drop your file here" button

Step 7) Optional: Change the order the listing images display by clicking and dragging the images to the desired order
Step 8) Click "UPDATE LISTINGS" button to save changes
Manage Video Featured on your Listing Page
Follow these steps to add or remove the videos featured on your listing page.
Step 1) Login to your HawaiiLife.com Account
Step 2) Click "LISTINGS" tab
Step 3) Click thumbnail image of the listing you wish to edit

Step 4) Click "VIDEOS" tab

Step 5) To remove unwanted video(s), click “X” next to video thumbnail image(s)

Step 6) To add a new video, click “ADD ANOTHER VIDEO” button
Step 7) Click “UPLOAD A VIDEO" button
Step 8) Locate and select video file on your computer then click “Open”
Step 9) Click “UPDATE LISTING” to save changes (be patient - video may take a few minutes to process)